How to take amazing self timer photos
For most photographers, being behind a camera is one of the best places to be. Whether you’re a beginner or a seasoned pro, chances are you feel totally at ease behind the lens, and know exactly how to move and what to do. For many photographers, however, this all changes the minute you get in front of a camera lens. If you’re used to calling the shots, suddenly becoming the subject of an image can feel unusual and even a little bit daunting.
To explain how to get over this initial intimidation and take great self timer photos, we’ve teamed up with the photography experts at Ted’s Cameras. From using a tripod and remote to photo composition tips, read their advice on how to take a good selfie.
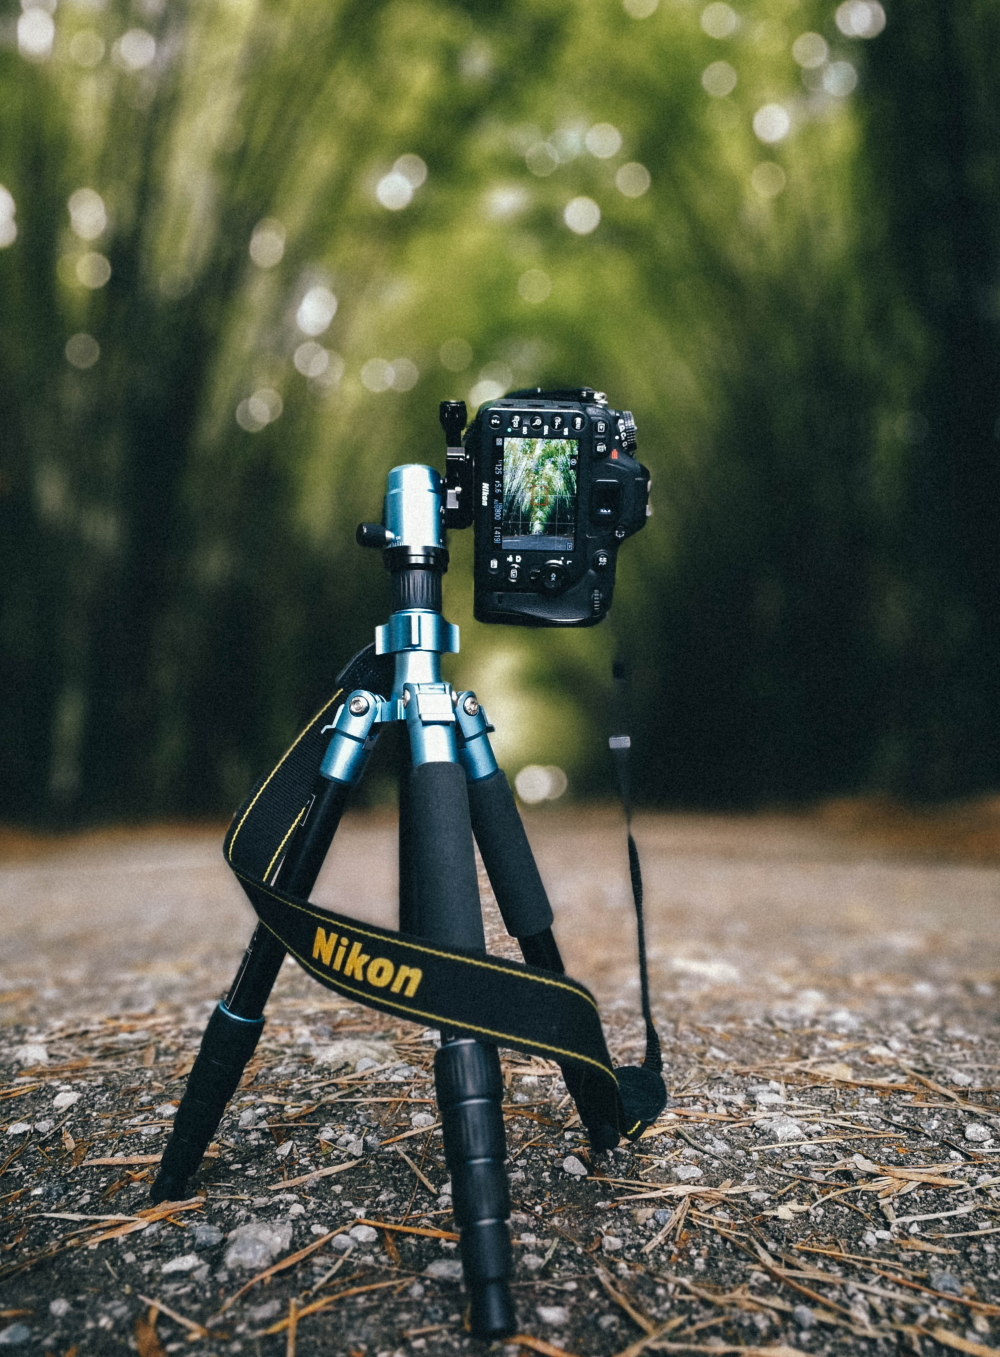
1. Use a tripod
The key to taking a good self timer photo? The humble tripod. Finding a good pose and holding it for long enough to capture it in an image is hard enough - you don’t need the additional stress of worrying about holding the camera still, too. A simple tripod can keep your camera steady both during and between shots, meaning you can concentrate on finding the best angles.
Tripods are also a must-have photography tool for capturing sharp and blur-free images, and can even take the hassle and guesswork out of low light photography. As a bonus, a tripod makes it easier to frame and compose your images by keeping your shot height and angle locked in place once you’ve set them.
Top Tip: Shooting on the go and don’t want to carry a heavy tripod? Go for a mini tripod that can slip into your backpack, or consider a Gorillapod, which can easily attach to most surfaces.
2. Consider your photo composition
Before you press your shutter button and start your photo self timer, spend some time thinking about your framing and composition. Many modern cameras have tilting LCD screens that are purpose-made for selfies - if yours has this feature, then you’re in luck! Simply tilt the screen and use it to adjust the position of your camera until you’re happy with the composition. You can also use the front camera of your phone for the same purpose if you’re opting for smartphone photography.
If your camera doesn’t have a tilting LCD screen, try making a note of any distinguishing background features such as windows, signs, or trees that you can use as a guide to pose between. Take a few test shots to see where you fit in the frame and make sure that you aren’t cropping yourself out, then adjust your camera position accordingly.

3. Give yourself enough time
The photo self timer functionality on most cameras lets you select between different countdown lengths, or delay times, between pressing the shutter and the shot being taken. Depending on your shoot location and conditions, you may want to go for the longest possible option to give yourself enough time to get in front of the camera and in position.
This is particularly handy if your intended position is at a distance from the camera, or if you’re taking a group photo and need to get multiple subjects in place.
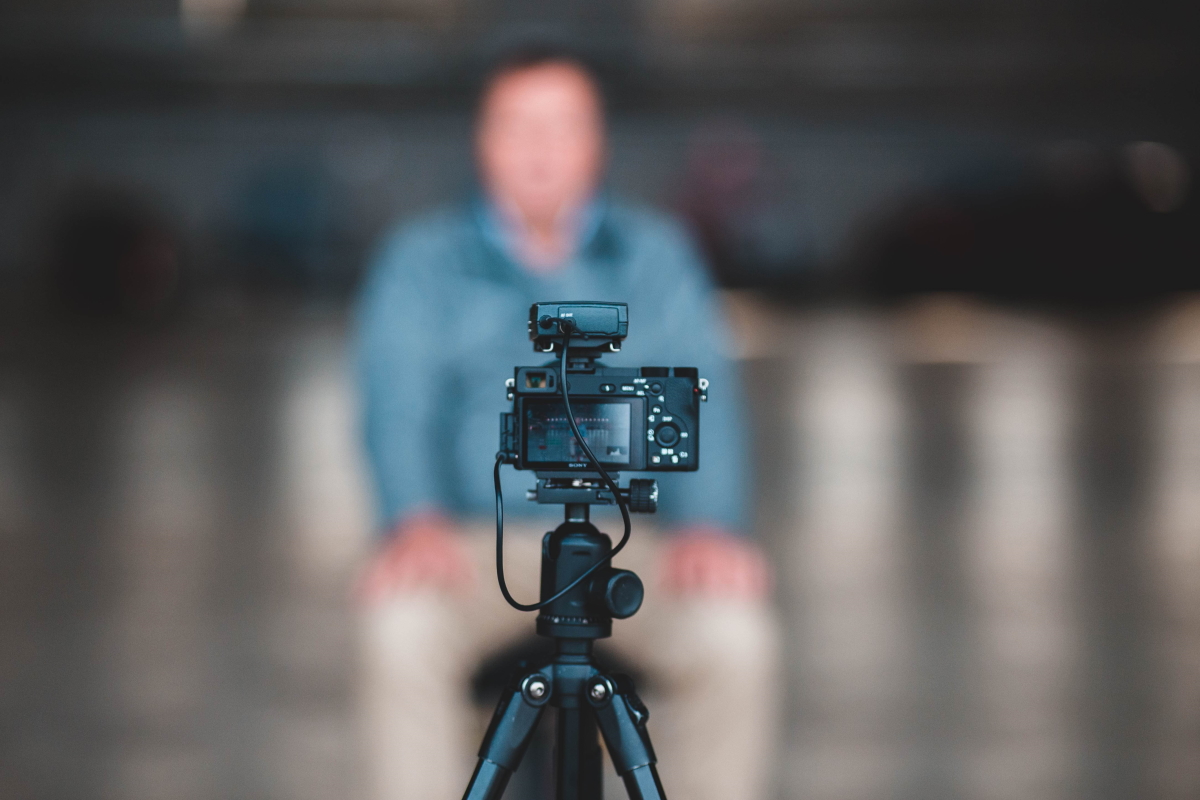
4. Use a remote
Besides a tripod, a remote control is one of the best photography accessories to invest in to take great self timer photos. Instead of pressing the shutter button and rushing to get into place, you can hold your remote discreetly in your hand, get in place for the photo, and trigger the self timer once you think everything is perfect.
Today, there are remotes for virtually every type of digital camera. Bluetooth devices are popular for smartphone photography, while a range of smartphone apps can be used to remotely control some digital cameras with WiFi or Bluetooth connectivity. Other DSLR and mirrorless cameras may require a dedicated remote control.
Top Tip: Keen to create a selfie time-lapse video? Consider looking into interval timers, which let you take multiple shots in quick succession. You’ll be able to shake your pose up spontaneously without having to worry about whether your camera is still shooting.
Get comfortable in front of the camera
While being on the other side of the camera lens may feel a little unusual at first, with time and practice it’ll become second nature. Learning how to do self timer on an iPhone, other smartphone, or digital camera is a great way to get comfortable in front of the camera, and can reward you with well-composed and creative selfies.
Follow our self timer tips to start taking great selfies and group shots today, or visit the Ted’s Cameras blog for more inspiration and photography advice.