
Constructing A Magnetic Knife Rack from Scratch
Anyone who knows their way around a kitchen should be aware of the importance of a knife – whether it be for chopping, slicing or carefully cutting, knives are invaluable tools in the arsenal of any good home cook. Finding an appropriate home for them is often difficult however – whether it be due to space issues or using something that doesn’t cause the knives to go blunt, the right solution is never simple. One of the best ways to go about doing this, however, is by using a magnetic knife block. These stylish accessories help keep your knives sharp, are very space conservative and look fantastic – plus, they’re exceptionally easy to make.
The first steps in constructing your knife rack
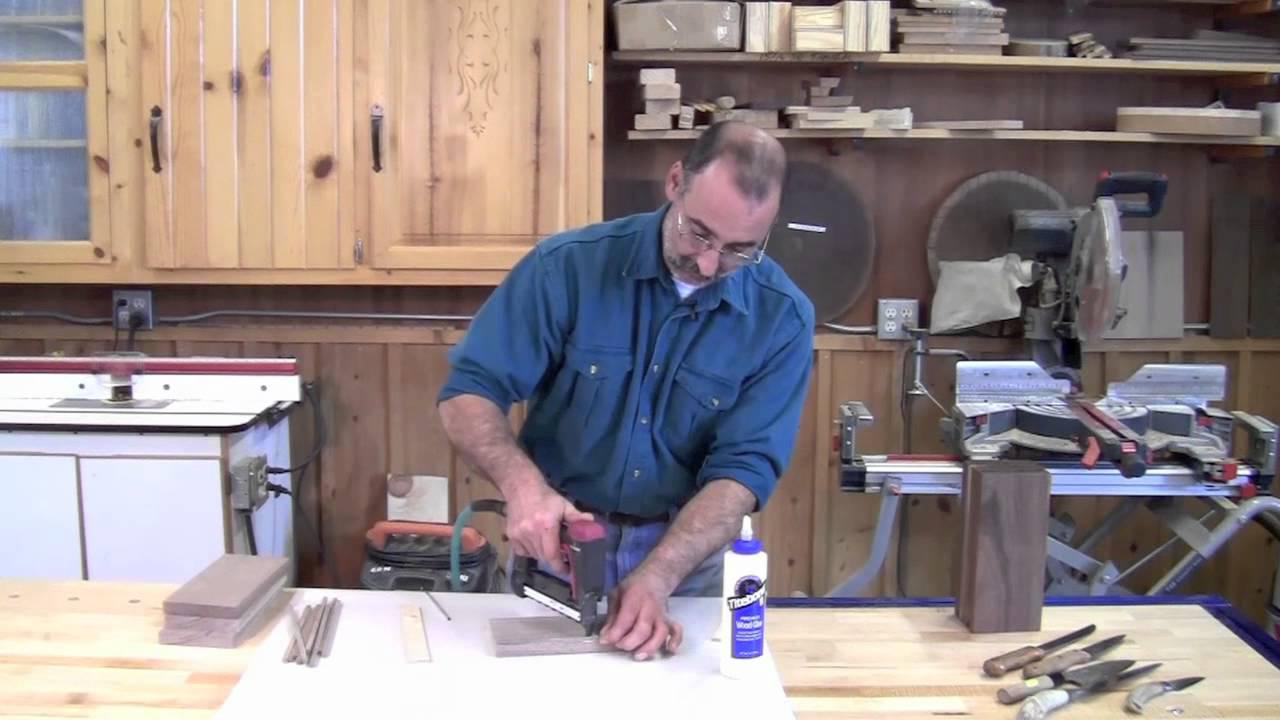
Although there are a few woodworking projects that you need you to pursue a carpenter apprenticeship in Melbourne, this magnetic knife rack is certainly not one of them. To start creating your brand new magnetic knife rack, you’ll first need to mark up the positions of the magnets in the piece of wood you have chosen – just make sure that your wood will fit appropriately in your kitchen space without too much hassle. You’ll need to divide this piece up into sections that will contain the magnets, making sure to alternate where the spaces are on the top and bottom of the wood so that there is complete coverage. You’ll then need to cut holes for these magnets. To do this, clamp the wood to your workbench rout into the timber in the top of the first section, then rout into the bottom of the second section, continuing this until all of the holes you’ve outlined have been routed. With the holes routed, you can now place a drop of all-purpose silicon into each of the holes and then place a magnet into each hole, pressing gently. Just make sure you tape the magnets in so that they don’t fall out!
The next steps you’ll need to consider
After your magnets are secured, it’s time to sand your knife holder. For this step, make sure to use a fine grit sandpaper, wiping away any dust that forms. With the knife holder lovely and smooth, you can now consider staining. For this step, choose a stain that will complement your kitchen, but if you’re not too sure, a natural wax is always a good way to go. After you’ve applied it and leaving to dry, make sure to give the wax a polish. With this step completed, your basic knife holder is ready for show! All you need to do now is attach it to the wall – to do this, you’ll need to drill a hole at one end of the holder and into the wall and then fasten a wall anchor into the hole and drill it into place. With the knife holder now fastened, you can then drill a second hole on the other end to completely fasten your brand new knife holder. Then you can apply all of your new knives, ready for your next cooking escapade!
Enjoy the benefits of a magnetic knife rack today
The seamlessness of a magnetic knife rack makes them perfect for busy and cluttered kitchens. Just remember that the length of your rack will be related to your space (and likely your knife collection!), so make sure these factors are considered in your initial plans.